> For the complete documentation index, see [llms.txt](https://docs.akenza.io/llms.txt). Markdown versions of documentation pages are available by appending `.md` to page URLs; this page is available as [Markdown](https://docs.akenza.io/tutorials/add-devices/how-to-integrate-an-enless-wireless-tx-4-20-ma-with-akenza.md).
# How to integrate an Enless Wireless TX 4/20 mA with akenza
In this tutorial, you will learn how to integrate the TX 4/20 mA 600-035 from Enless Wireless on akenza.
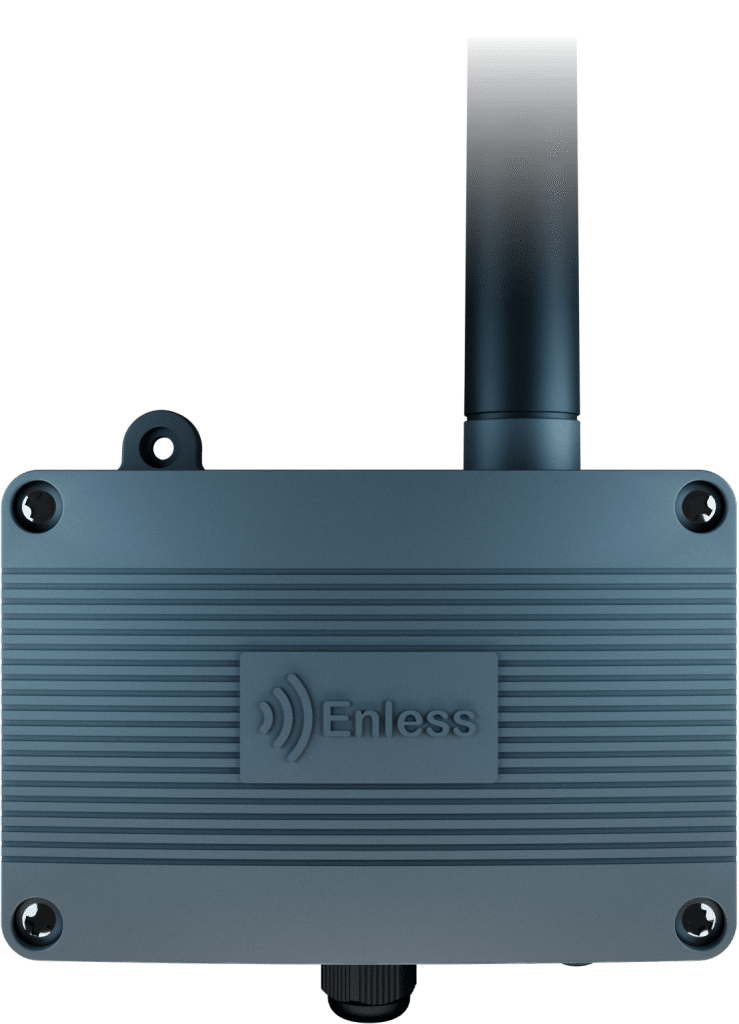
Enless Wireless TX 4/20 mA device
The 4–20 mA LoRaWAN sensor is designed to allow you to connect a 4–20 mA sensor to it. It will measure the 4–20 mA signal from your sensor and transmit the measured data via LoRa radio.
{% hint style="success" %}
**Applications**
* Tank, silo, and basin level monitoring
* Pressure monitoring on pipes, pumps, and compressed-air networks
* Temperature measurement in extreme ranges with industrial transmitters
* Retrofitting existing 4–20 mA field instruments onto a wireless network
{% endhint %}
### Before you start
You'll need:
* An Enless [TX 4/20 mA 600-035](https://enless-wireless.com/en/product/4-20-ma-lorawan-sensor/) (EU868). For US915, the reference is TX 4/20 mA 600-135.
* A 4–20 mA probe.
* The device's OTAA credentials: **DevEUI**, **AppEUI**, and **AppKey**. Enless Wirless supplies these with the device.
* LoRaWAN coverage from a LoRaWAN Network Server (LNS) connected to akenza. You can [integrate your existing accounts](https://docs.akenza.io/akenza.io/get-started/integrations) from Swisscom LPN, Loriot, Netmore, The Things Network/Industries, and Cibicom. No network operator contract? Use our [Connectivity-as-a-Service](https://docs.akenza.io/akenza.io/get-started/your-data-flow/device-connector/lorawan/your-integration) (CaaS) and skip the account setup.
The TX 4/20 mA runs LoRaWAN 1.0.2 (RP001-1.0.2 revB), Class A, and joins by OTAA only. Make sure your network server uses the EU868 frequency plan.
### Step 1: Add your network server to akenza
Open **Integrations** and select your LoRaWAN network server. Enter the credentials from your network server account and save. akenza starts syncing your device inventory. Depending on the size of your deployment, this can take a few minutes.
Using Connectivity-as-a-Service instead? Skip this step. akenza manages the connectivity for you, and you select CaaS directly in the data flow.
### Step 2: Create a data flow
A data flow tells akenza how the device's data arrives, how to decode it, and where it should go. It has three parts.
#### Device connector
Go to **Data Flow** and select *Create Data Flow.* Choose **LoRa** as the device connector. If you have integrated your connectivity account, you will see it listed here. If you do not have your own account, can make use of the akenza Connectivity-as-a-Service. In this example, we choose the CaaS offer of The Things Stack.
#### Device type
Search for TX 4/20 and select the Enless Wireless TX 4/20 mA 600-035 device type. This loads the decoder that turns the raw payload into a current reading in mA, so you don't have to write one yourself.
#### Output connector
Choose where the data should land. In this tutorial, we proceed with choosing **Akenza DB**. With this connection, we ensure that all data passing through this data flow is saved in the akenza database and thereby becomes accessible to you. You can add more outputs later. Save your **Data Flow** and give it a name.
### Step 3: Register the TX 4/20 mA
Open **Device Inventory** and select **Create Device**. Give it a name, and add a description, [tags](https://docs.akenza.io/device-management/managing-a-workspace/tags.md), or [custom fields](https://docs.akenza.io/device-management/managing-a-workspace/custom-fields.md).
You will then need to select the data flow you created in Step 2.
Enter the connectivity parameters from the device: **DevEUI**, **AppEUI**, and **AppKey**.
Finalize the device creation by clicking on *Create device*.
Your TX 4/20 mA device will now be displayed in the **Asset Inventory Overview.**
### Step 4: Wire the probe and join the network
The TX 4/20 mA is shipped in LoRaWAN mode, with its battery disconnected. Three things to do before it joins.
[Check the mode jumper.](https://enless.gitbook.io/centre-aide/guides-installation/documentation-en/sensors/editor-15/activation-procedure/other-lorawan-networks-public-or-private#check-that-your-sensor-is-indeed-in-lorawan-mode) The TX 4/20 mA also speaks LoRa Easy, Enless's proprietary protocol. LoRaWAN mode is set by a jumper on the electronic board: it must be open, with the two pins not connected. The TX only reads the jumper at power-up, so set it while the battery is unplugged.
Wire the probe. Open the housing and connect your 4–20 mA probe to the terminal block, following the label inside the transmitter under the terminal block. An external power supply for the probe is recommended. The TX 4/20 mA can power the probe itself only if the probe runs on less than 3 V. Enless's [wiring guide](https://enless.gitbook.io/centre-aide/guides-installation/documentation-en/sensors/editor-15/use/wiring) shows both setups.
Connect the battery. Plug in the battery's Molex connector. The TX 4/20 mA starts its join right away. The status LED flashes, then holds one colour for 30 seconds:
* Green: joined.
* Orange: joined, but the signal (RSSI) is weak. Expect some lost uplinks. Move the device or the gateway if you can.
* Red: not joined.
{% hint style="danger" %}
Red LED? Check these in order
* The jumper was not in the LoRaWAN position at power-up. Unplug the battery, open the jumper, and reconnect.
* The DevEUI, AppEUI, or AppKey in akenza doesn't match the device label.
* There is no LoRaWAN coverage at the installation spot.
{% endhint %}
Once the LED is green, mount the TX 4/20 mA on a wall, a 35 mm DIN rail (Enless accessory DIN RAIL 1000-005), or a pipe with cable ties. Follow [Enless's installation guide](https://enless.gitbook.io/centre-aide/guides-installation/documentation-en/sensors/editor-15/use/sensor-installation) for the mounting options.
### Step 5: Verify the data
Back in akenza, open the device from Device Inventory and go to the Data Overview. Once the TX 4/20 mA has joined and sent its first uplink, you'll see the current reading from your probe in mA. By default, the TX 4/20 mA sends every 5 minutes. You can change the interval by downlink.
:tada: Your Enless TX 4/20 mA data is now flowing into akenza, ready to visualize on a dashboard or wire into a rule.
---
# Agent Instructions
This documentation is published with GitBook. GitBook is the documentation platform designed so that both humans and AI agents can read, navigate, and reason over technical content effectively. Learn more at gitbook.com.
## Querying This Documentation
If you need additional information that is not directly available in this page, you can query the documentation by asking a question.
Perform an HTTP GET request on the following URL with the `ask` and `goal` query parameters:
```
GET https://docs.akenza.io/tutorials/add-devices/how-to-integrate-an-enless-wireless-tx-4-20-ma-with-akenza.md?ask=&goal=
```
`ask` is the immediate question: it should be specific, self-contained, and written in natural language.
`goal` is what the user is ultimately trying to achieve, the reason they need the answer. Sharing it helps GitBook give you a better, more relevant answer. A goal is most helpful when it describes the outcome the user wants rather than restating the question. For example, with `ask=how do I create an API token`, a goal like `automate deployments from our CI pipeline` lets GitBook tailor the answer to that use case.
The response will contain a direct answer to the question and relevant excerpts and sources from the documentation.
Use this mechanism when the answer is not explicitly present in the current page, you need clarification or additional context, or you want to retrieve related documentation sections.